
UPCOMING WORK - SCHOOL MURAL!
Thought I'd share a couple of photos that show prep work for an upcoming school mural project. These steps make it much easier and faster to get the work done at the job site.
After the design is finalized with the client, the vector art is sized up to the final size. The simplified vector design shows the major elements; in this design color will be painted and blended in to match the scale design.
Digital input tools like the Wacom pen/tablet (or for those wealthier illustrators, iPad Pro and pen!) make representing the painted final product much easier.
(update: here is the story of the completed project)
Here is a photo of the scale design:

Paint color will be mixed to match the swatches in the top-left part of the drawing.
Here is a photo of the color key printing out on my trusty old Roland Soljet:

Next, the main portions are drawn out on the pen plotter at full size:
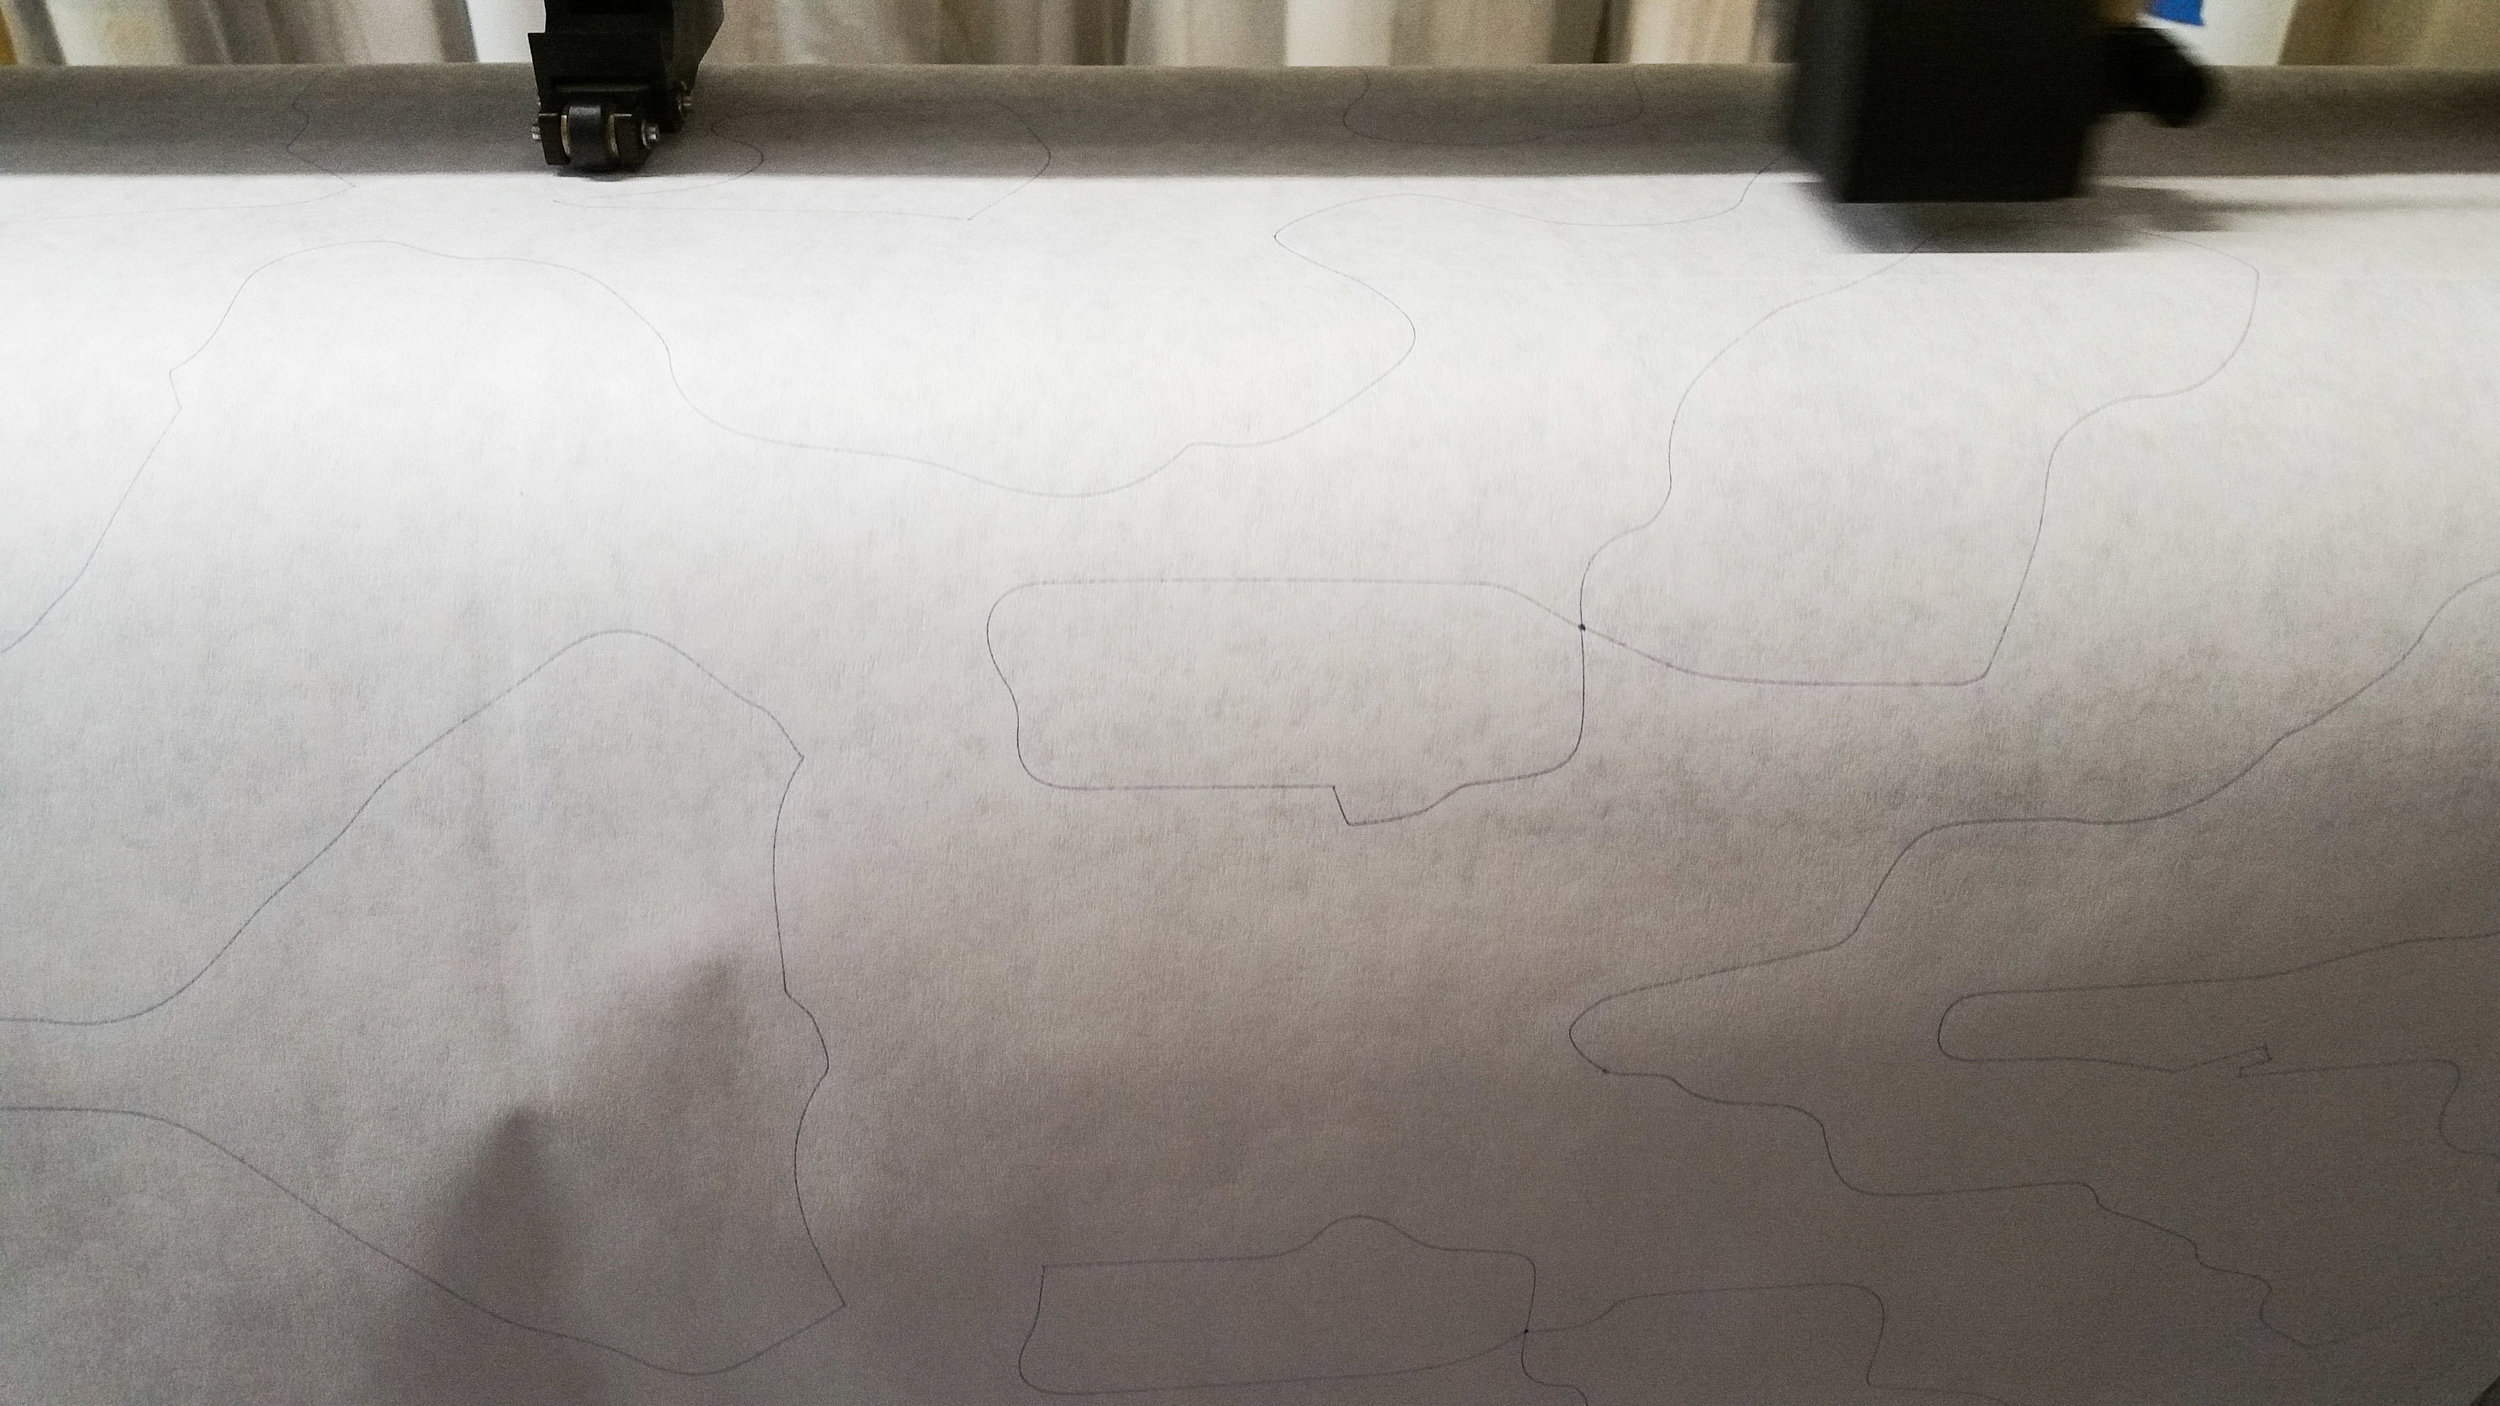
The lines will be traced with the Electro-Pounce - a sign maker's tool that burns tiny holes via a stylus electric pen as I trace the lines. This paper pounce pattern will be taped up onto the wall location, then charcoal pushed through the holes to transfer these elements to the wall.
Finally - what does the mural location look like "before"?

Here is that photo -- looking forward to making another happy client!